

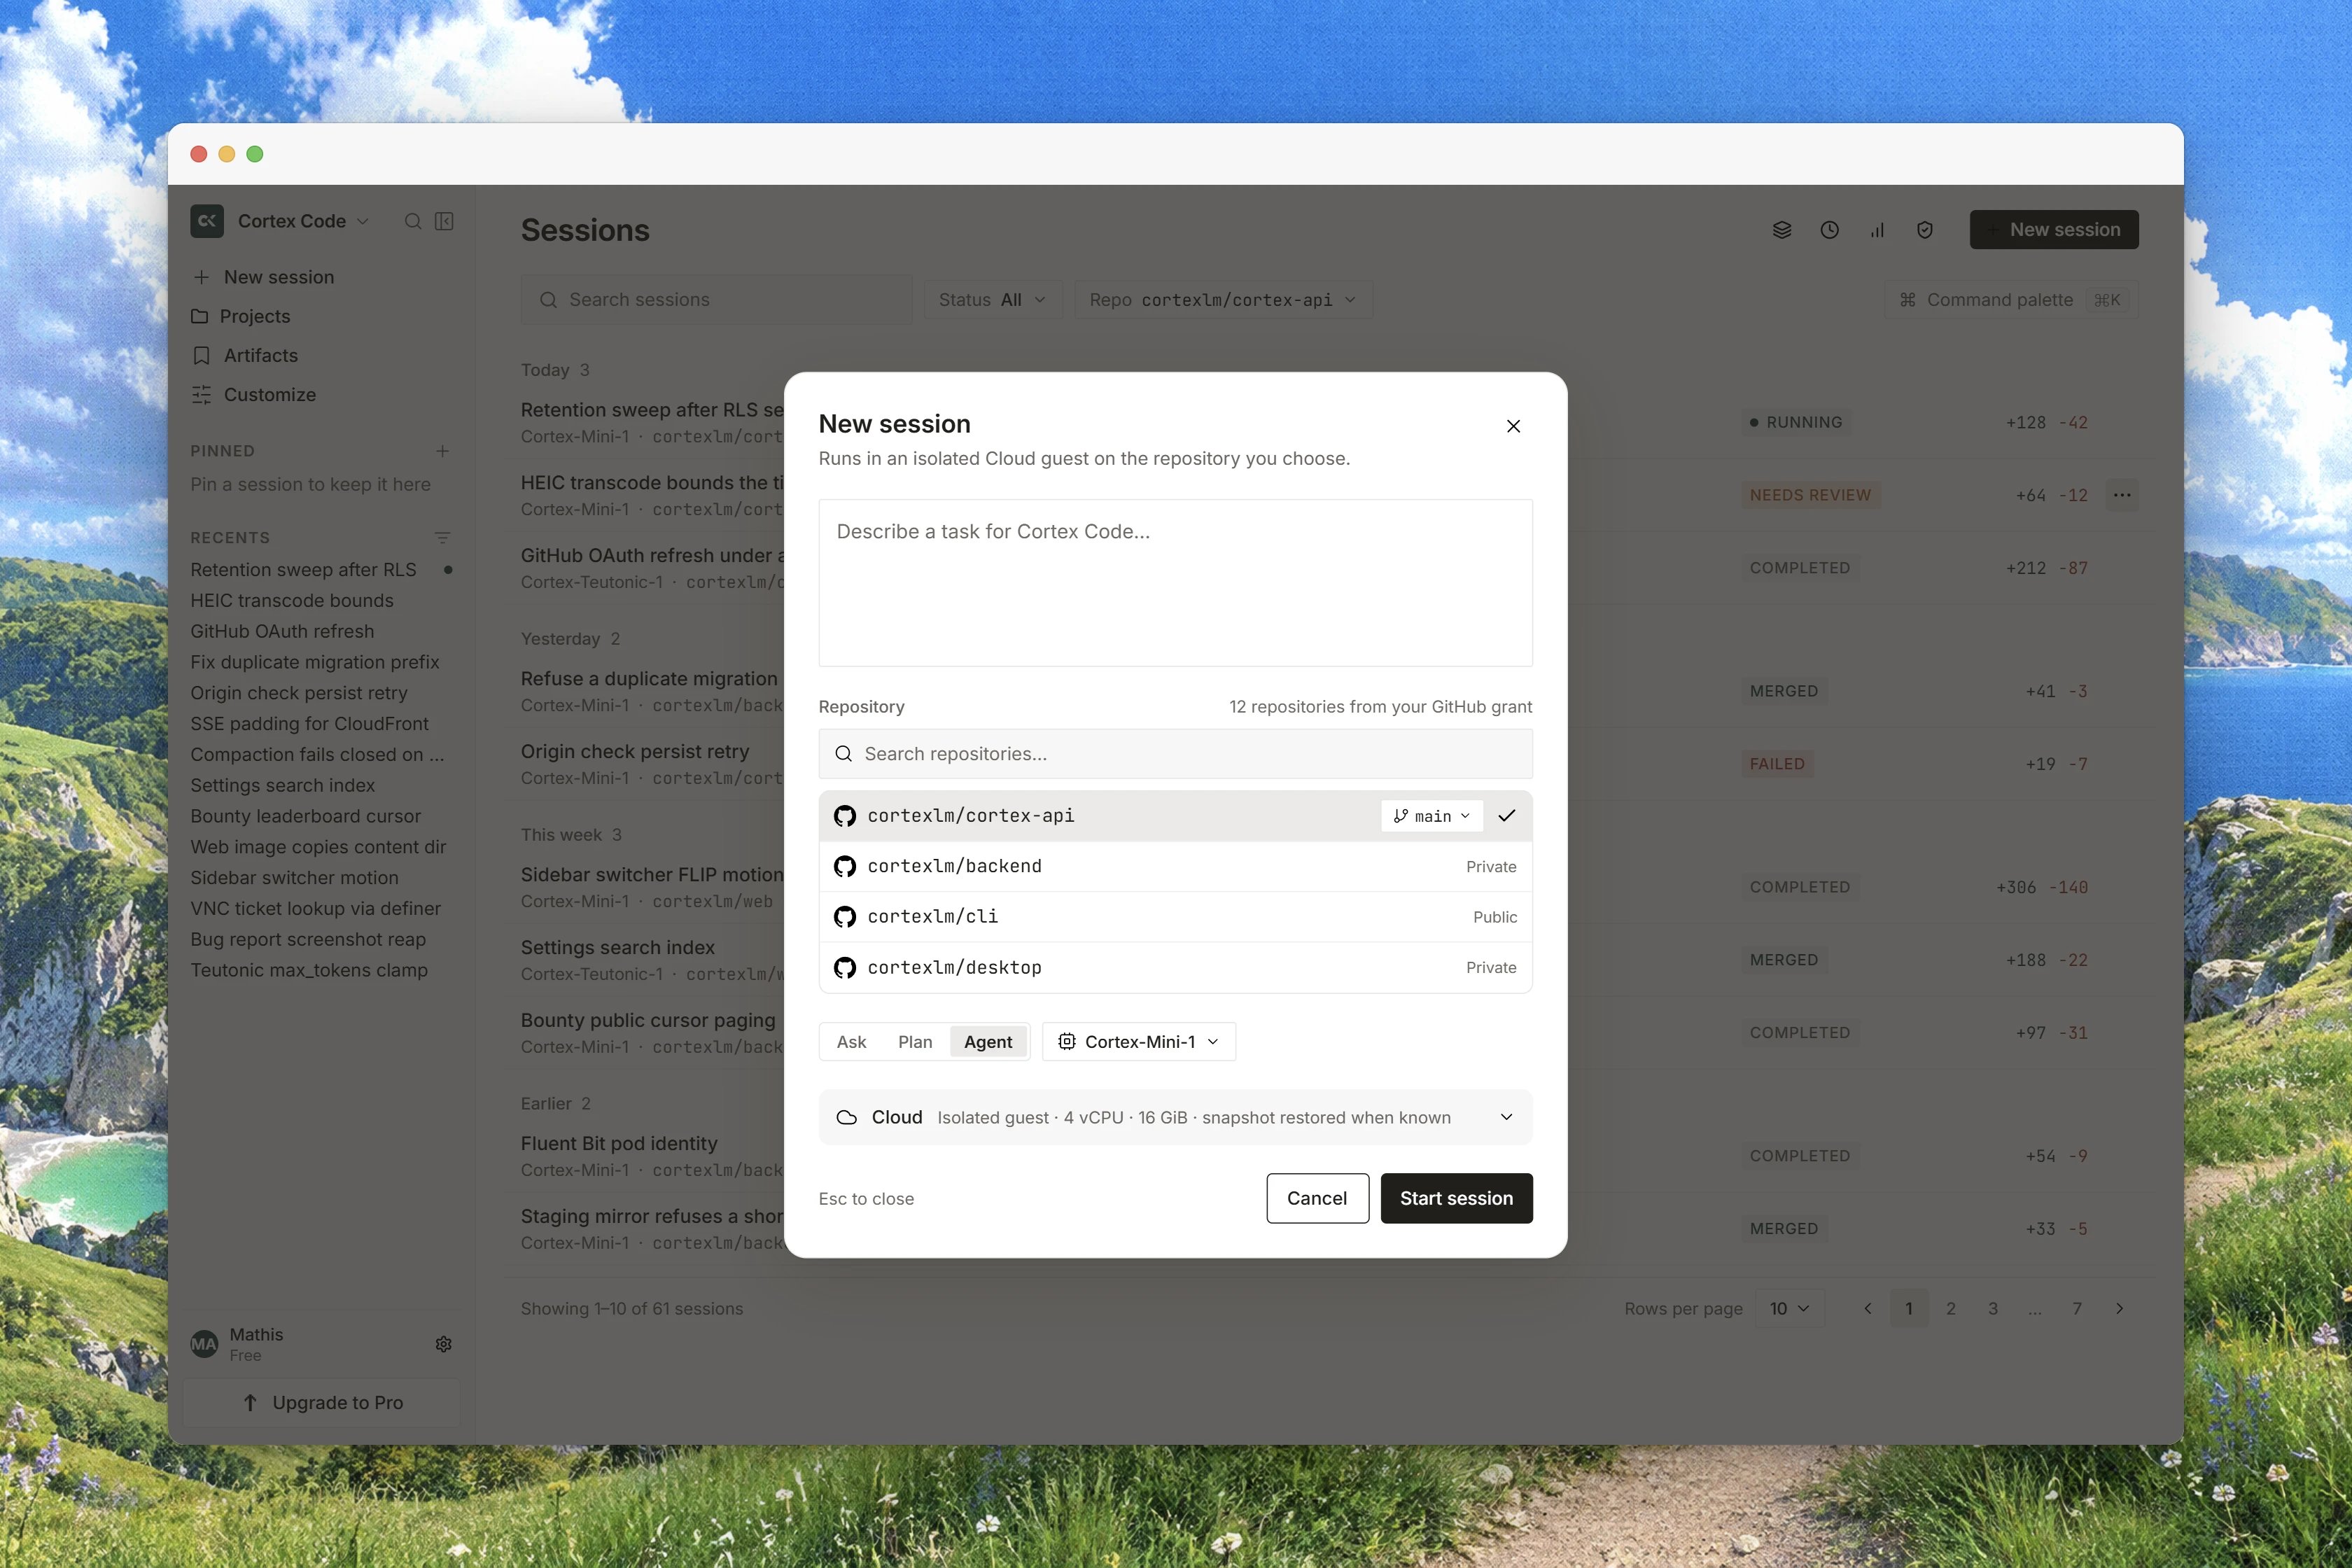
Interface preview
1
Sign in
Open the Cortex app at cortex.foundation and sign in with your Cortex account, then switch to Code.A guest can browse Code Home and type in the prompt box. Pressing Start session while signed out opens the sign-in dialog rather than failing, and a deep link into Code shows This space is reserved with Continue in Chat or Sign in.
2
Connect GitHub
Press Connect GitHub and approve the request on GitHub’s own screen. The control appears on the Code integrations page, under Settings → Integrations, and straight from the repository picker when it would otherwise show an empty list. There is no token to paste anywhere in this step, and no field asking for one.When you come back, the page reads GitHub is connected. Taking you back… and returns you to where you started. If the control reads Reconnect GitHub, an earlier connection lapsed: press it and repeat. See Connect GitHub.
3
Pick a repository and a branch
Above the prompt box there are two chips. The first is Choose a repository. The second is Branch: leaving it alone uses the repository’s own default branch.One session works one repository. If your change spans two repositories, that is two sessions. See Repositories and branches.
4
Choose a mode
The controls row carries three modes.
For a first run that ends in a real change, pick Agent. Pick Plan if you would rather read the approach first, then send a second turn in Agent to carry it out. The mode you pick applies to the turn you are about to send, and you can change it on every follow-up.
5
Describe the change and press Start session
Write the task the way you would write it for a colleague who has not seen the code yet. A good first ask:Press Start session. Cortex creates the session, opens it, and the first turn attaches an isolated Cloud guest prepared from the repository you chose. The first session on a repository spends time installing what the repository declares, so it is slower than the next one; a saved image removes that wait later. See Environments and images.
6
Read the timeline
The transcript shows your ask as the Task line, then a row per piece of work with a duration: Read, Edited, Ran and Worked. Before anything has run it says Nothing has run in this session yet. Describe a task below and Cortex will start work.Long finished output is folded to keep the column readable. The hint says it plainly: Long finished results are folded. Press Ctrl+O to expand every row. On a Mac, Ctrl+O or Command+O both work.If the agent wants to run a command that needs your decision, a card appears above the transcript with Allow once, Always allow and Deny. Always allow applies to that tool in this session only. It is not an account setting, and it never covers a file write.
7
Approve the changes
Open the Changes tab in the output pane on the right. Each file the agent touched is listed with its state: Queued, Writing, Pending, then Written.Press Approve on a file you have read, or Approve all for the batch. Press Reject to refuse one, and where the surface offers it, say why under Why reject this write so the agent reads your reason. Until a file is approved, the tree is not written.In Ask or Plan this pane says so instead: Ask and Plan do not change files, so there is nothing to review here.
8
Ship it
Open the Git tab. Once the session has a branch it offers Open pull request; before that it reads No branch yet or No pull request. Pushes are limited to Cortex branches, so a session cannot push over your default branch.If the repository has pull-request review enabled, the review arrives on the pull request itself. See Pull-request review.
Read the change before you approve it
Approve is the point of no return. There is no undo, no checkpoint and no revert anywhere in Code, and approving a file cannot be taken back from inside the session. While a write is still Pending you can Reject it; afterwards the repository is the only place to change your mind. This is also why the two gates use different words. The Allow once / Always allow / Deny card decides whether a command may run. The Approve in Changes decides whether a file is written. A session grant on the first never grants the second. See Permissions and approvals.What to try next
This PC and SSH are not browser options. To run a session against a folder on your own machine or a registered remote host, use the Cortex desktop app or the Cortex CLI.
Related
- Code sessions for the board, the transcript and follow-ups.
- Ask, Plan, Agent for what each mode may reach.
- Permissions and approvals for both gates in full.
- Changes and diffs for reading a proposed diff.
- Code troubleshooting when a session will not start.